Xero Accounting Integration with EDI
Electronic Data Interchange (commonly known as EDI) is essentially the standard method when it comes to exchanging files in modern industry. Since its inception in the 1960s, EDI can be found in industries ranging from manufacturing to healthcare. Through EDI, businesses have a process for exchanging business documents with trading partners.
While having a process for standardized document exchange is beneficial for a business, one step that is often overlooked: generating or retrieving the necessary data for the business documents. This is what the Arc application does for you, directly enabling Xero integration.
This article will provide a walk-through for a sample Xero Accounting integration, demonstrating how you can retrieve Invoices from Xero Accounting and send them to your vendors, suppliers, customers and other partners.
Setting up the Xero Integration Sample
To begin, download and install the Arc application (free, 30-day trial). Then download the sample project and extract and copy the contents to the "data" folder in the installation location for Arc. For Windows installations, this will likely be C:\Program Files\CData\Arc. Please consult the documentation for the Java build of Arc for Linux/Unix/Mac installations.
Next, you need to ensure that you have configured your connection to Xero Accounting properly.
Connecting to Xero Accounting
If you have not already, you will need to install the CData ODBC Driver for Xero (you can download a free, 30-day trial). If you just downloaded and installed the provider, please restart Arc before proceeding.
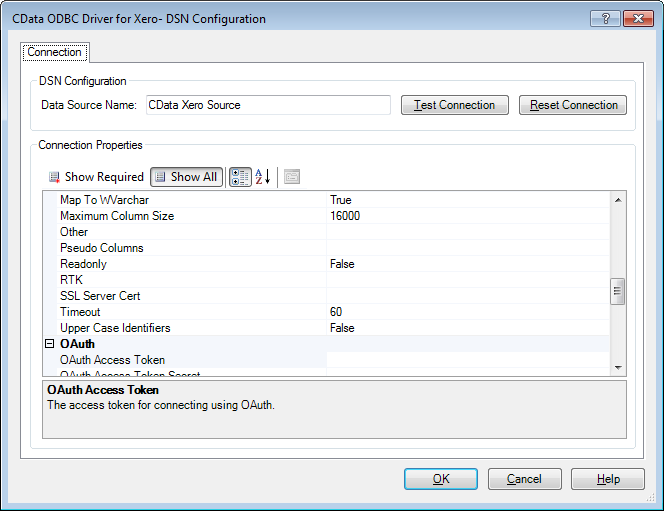
With the ODBC Driver installed, the next step is to configure your connection to Xero Accounting as an ODBC data source. You can create a new DSN from the ODBC administration tool for your operating system or configure your connection when you install the driver. For information on configuring the connection to Xero Accounting, refer to the online Help documentation for the ODBC driver.
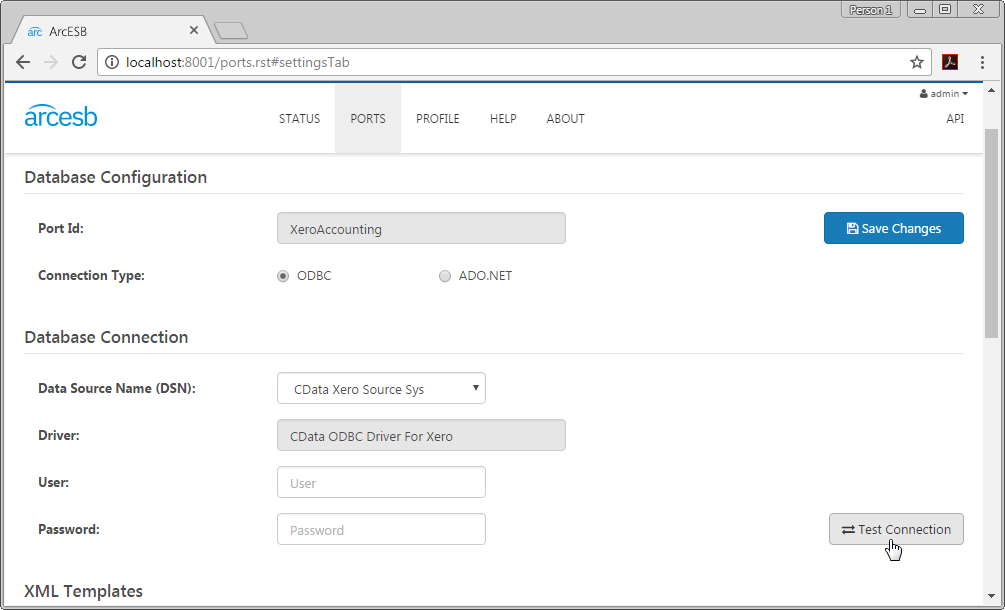
In Arc click the Ports tab and select the Xero Accounting Database Connector from the Connector drop-down menu. On the Settings tab, you can configure your connection to your Xero Accounting instance. Click the ODBC radio button for the Connection Type and select the DSN you just configured from the drop down menu for the Data Source Name (DSN). To confirm your connection, you can click the Test Connection button.
Document Translation / Data Integration Walk-Through
With the connection to Xero Accounting properly configured, you are now ready to begin the walk-through.
Retrieve a Sales Invoice
As we work through the sample, we start with the assumption that you have Invoices in your Xero Accounting instance, ready to be sent to the trading partner.
Retrieve the Sales Invoice from Xero Accounting
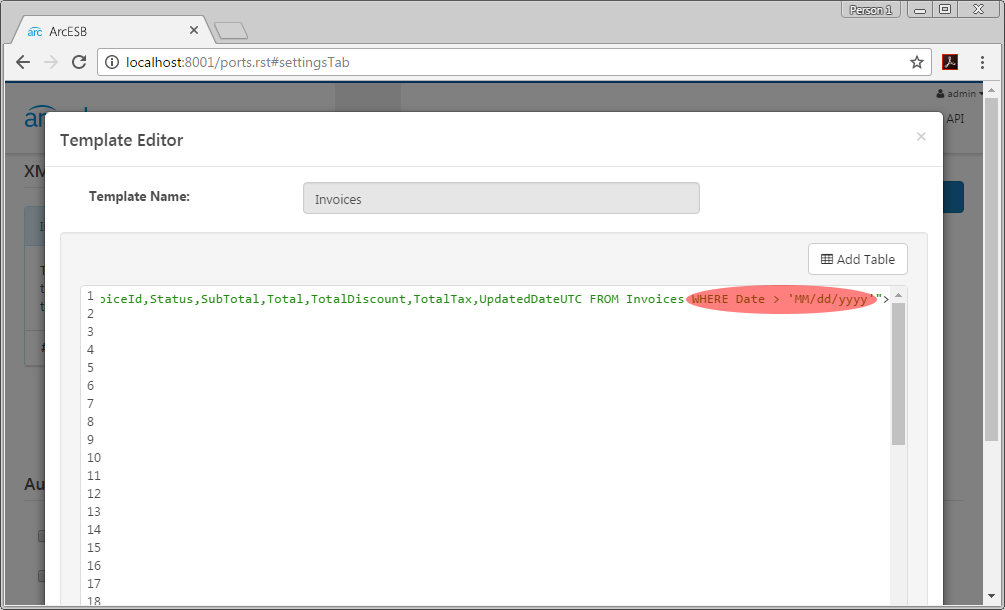
With existing Invoices in Xero Accounting, you can trigger the Xero Accounting Connector in Arc to retrieve them and place them, prepared to be translated and sent to the trading partner, in the Send folder for the MAP_810_OUT Connector. To do this, you will need to first edit the Invoices Output Template: On the Settings tab for the Xero Accounting Connector, click the Edit button ( ) in the row for the Invoices template in the Output Templates table. Replace the date in the WHERE clause of the selectQuery attribute with the date that falls just before the time you need Invoices for.
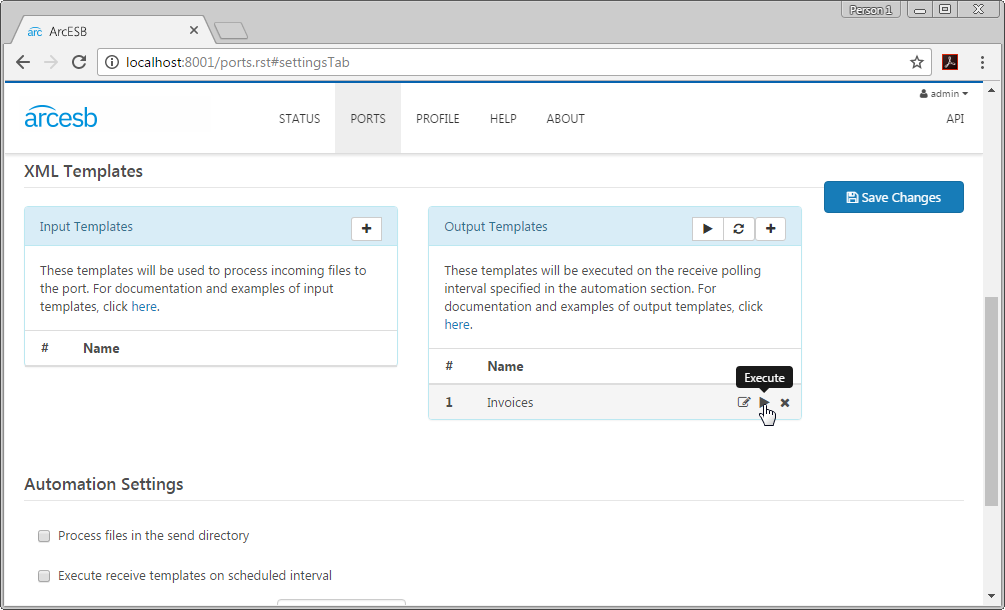
After you edit the Invoices template, you can click the Execute button ( ) to execute the template, retrieve the Invoices, and create XML documents ready to be processed in the MAP_810_OUT Connector. The XML elements used in the mapping template are derived directly from the column listing for the Sales Invoices table in Xero Accounting, as exposed by the ODBC Driver (see the online documentation).
Translate an XML Invoice to an XML 810 Document
The MAP_810_OUT Connector is a scripting connector, designed to translate an Invoice (in XML based on its Xero Accounting structure) into XML that relates to the X12 format.
Because you already have the XML for the Invoice, you can use the script and templates included in the sample to translate the document into an XML format that is more closely related to the 810 document expected by your trading partner.
How the Translation Works
The TranslationScript.rsb file maps the values at specific XPaths in the XML document from the Xero Accounting Database Connector to new fields, which will be used to create a new document based on the 810 template file.
Performing the Translation
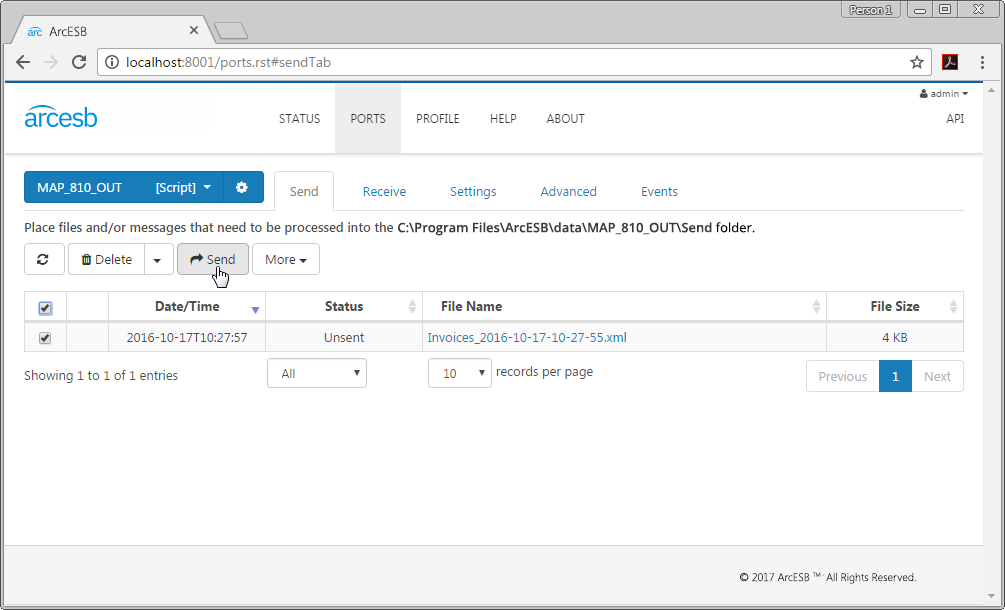
To translate the XML Invoice, simply select the INVOICES_TIMESTAMP.xml document in the Send folder of the MAP_810_OUT Connector and click Send. This will create a new document, 810_TIMESTAMP.xml, and place it in the Send folder of the WayneTech_810_Out Connector.
Translate an XML 810 Document to an X12 810 Document
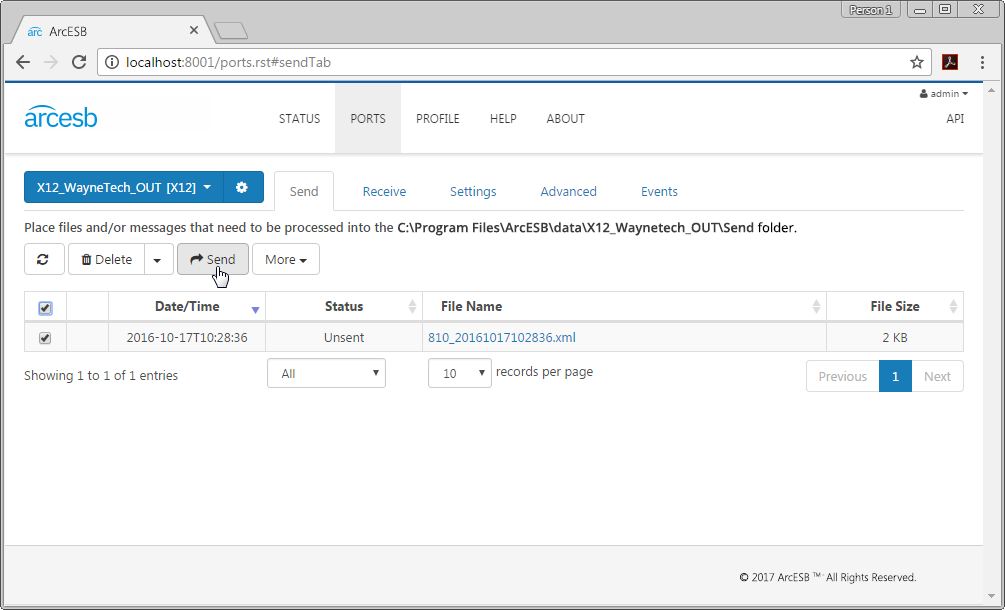
The last piece of the sample is the process of translating the 810 in XML format into X12 format. This is accomplished by clicking on the 810_TIMESTAMP.xml file on the Send tab for the X12_WayneTech_OUT Connector and clicking Send.
It is at this point that the 810/Invoice is ready for transport to your trading partner. In a real-world, end-to-end integration, you would then use a communication connector like AS2 or SFTP to transmit the file to the trading partner.
More Information & Next Steps
As you can see, Arc and CData Software make Xero Accounting integrations fast, simple and smooth. Try Arc today to seamlessly automate your business document exchanges with your partners. For more information on Arc, visit our home page and for more information on the Xero Accounting ODBC Driver available from CData Software, visit the CData Software website. You can also see a full list of the data sources CData Software connects to with ODBC Drivers. Download your free, 30-day trials and start controlling your business document exchange today!
Download & Install Sample
Already running Arc? This sample will setup Arc with the data and connector configurations referenced in this article:
