Salesforce to Netsuite: Account in Salesforce Creates Customer in NetSuite
Arc can seamlessly link Salesforce to NetSuite. The following sample project demonstrates how different ports in Arc can be used to automatically take a Salesforce Account and insert it into NetSuite as a Customer. The sample connector configuration polls Salesforce for new Account records and upsert them into NetSuite.
Drop in the Sample Salesforce-to-NetSuite Project
To get started with the sample, download and install Arc (free 30-day trial). Then download the sample project and extract and copy the contents to the "data" folder in the installation location for Arc. For Windows installations, this is likely C:\Program Files\CData\Arc. Please consult the documentation for the Java build of Arc for Linux/Unix/Mac installations.
Poll Salesforce for new Accounts
Configure the username, password, and security token fields in the Salesforce Connector Settings tab.
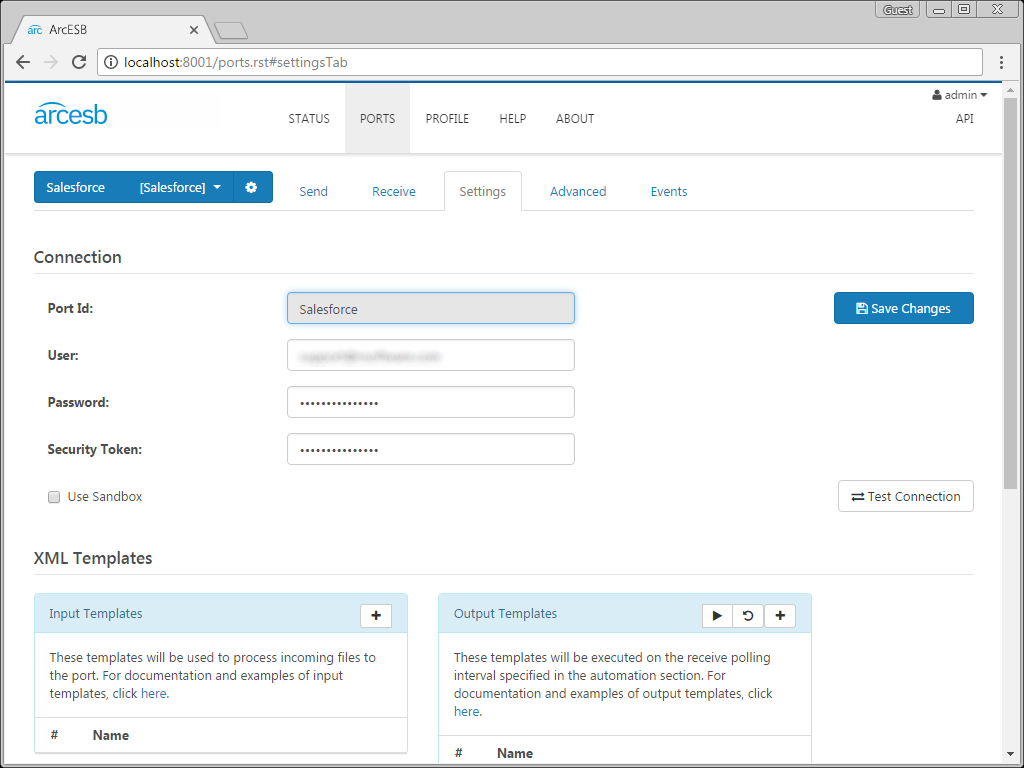
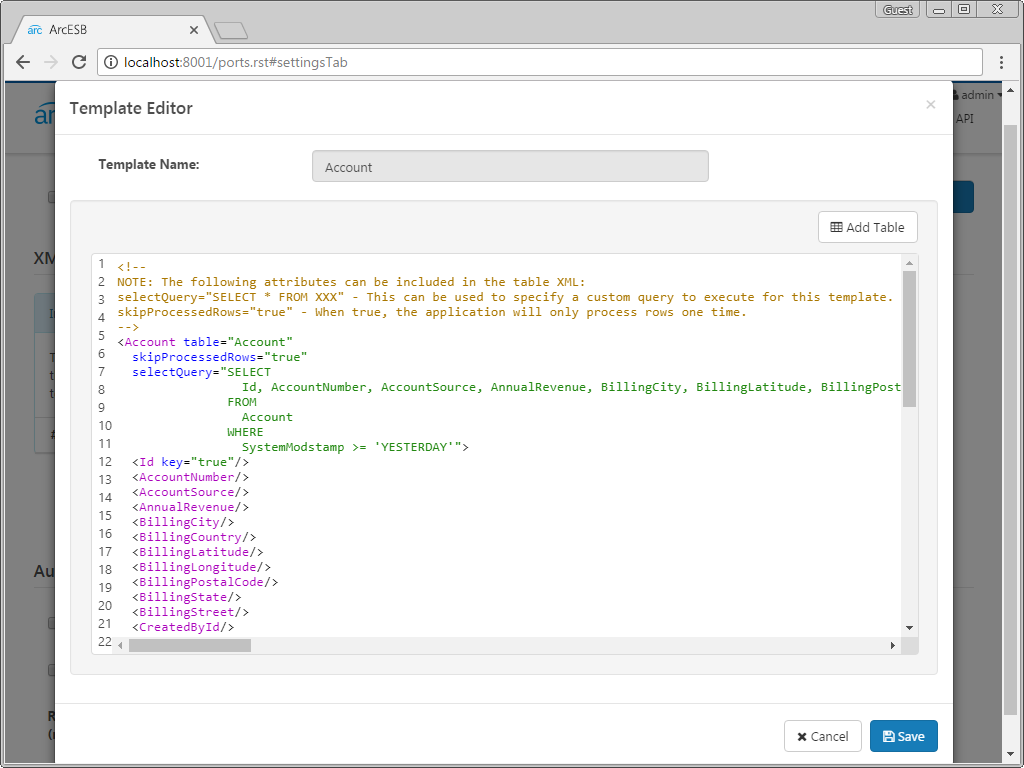
The Salesforce Connector has been configured with a default output template for Salesforce Accounts. This template has been configured to poll Salesforce for new Accounts that have been added to Salesforce within the past 24 hours. The application generates a new XML file for each row in the database that is processed. If you open the template file, you can view the logic controlling the query, where the setting skipProcessedRows='true' prevents the application from pulling in data that has been previously retrieved and WHERE SystemModstamp >= 'YESTERDAY' limits the query to the most recent data.
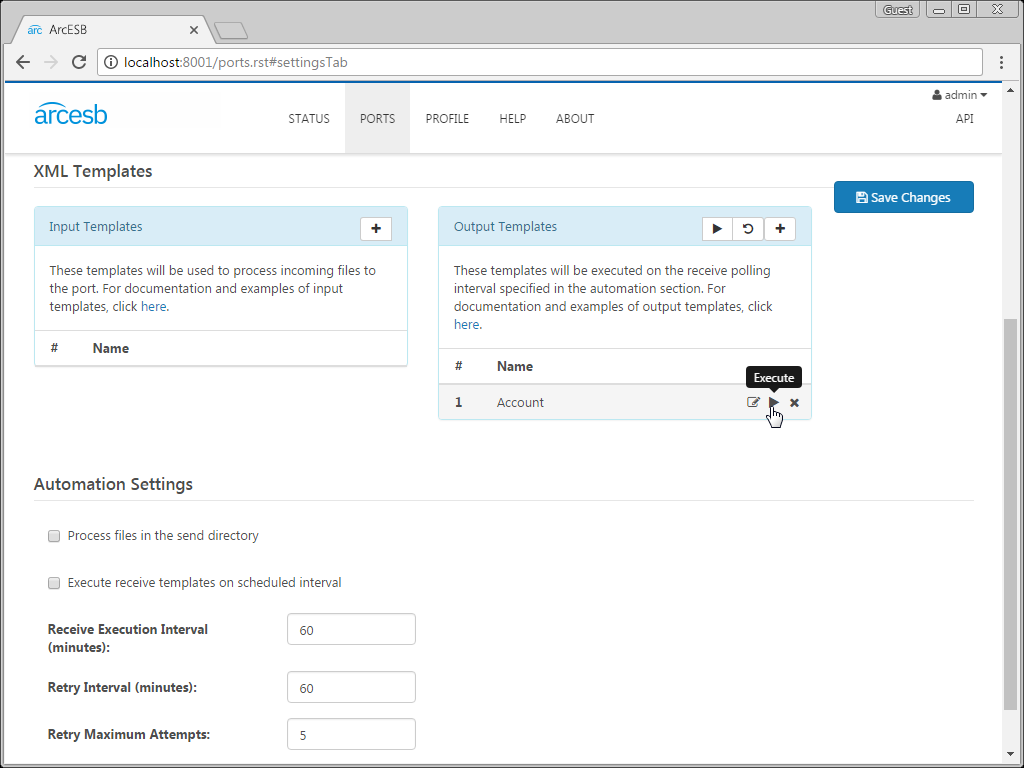
You can click the run symbol next to an individual template to run that specific query, or click the run symbol in the Output Templates window to run all of them in succession. The connector has already been configured to poll the Salesforce account on a scheduled interval, which can be seen in the Settings tab under the Automation Settings section.
Once the connector has retrieved the data and generated an XML file, the result is sent to the MAP_SF_to_NS Connector.
Mapping Salesforce Accounts to NetSuite Customers
The mapping connector MAP_SF_to_NS can be used to convert the XML file containing the Salesforce Account into an XML file with values and tags matching the template for a NetSuite Customer. When output file from the Salesforce Connector has been placed into the Send folder for the mapping connector, click the Send button to process the file.
After converting the file to match the columns in the NetSuite database, the XML file that is generated is automatically sent to the NetSuite Connector to await further processing.
Upsert the Customer in NetSuite
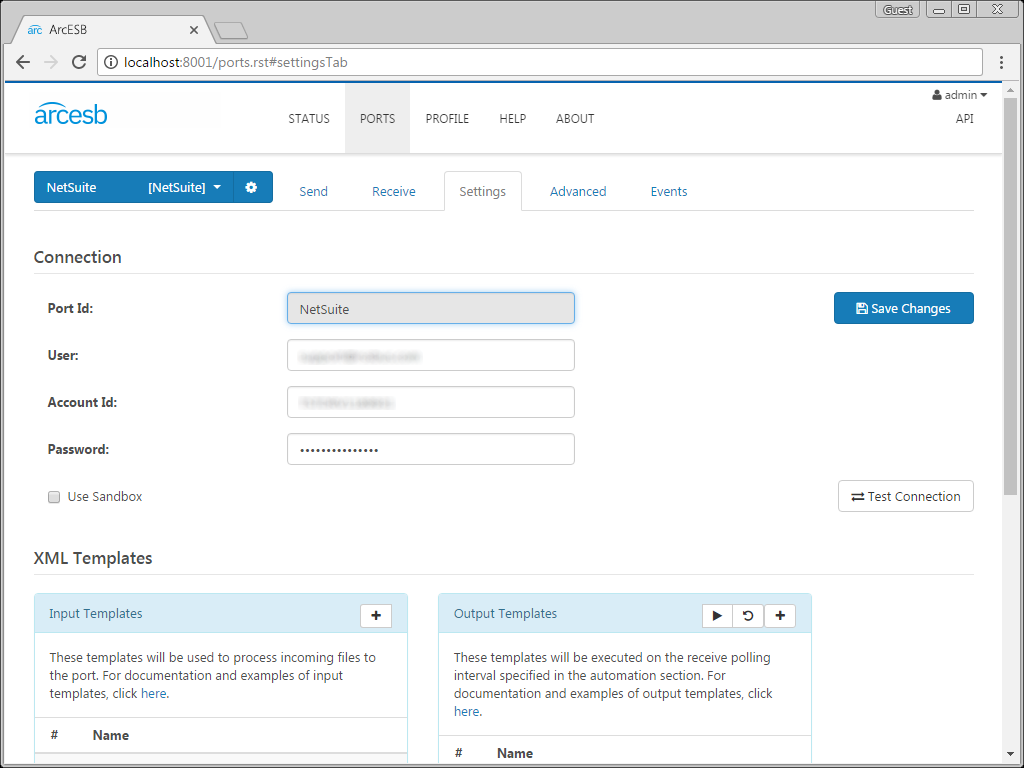
Configure the username, password, and account ID fields in the NetSuite Connector Settings tab to connect to NetSuite.
In your NetSuite Connector, you can use new XML file found in your Send folder to either insert or update customer records in NetSuite. In the upload template, you can specific a key to be used to determine whether the entry is inserted or updated. Arc compares the value set as the key to the existing entries in your NetSuite account.
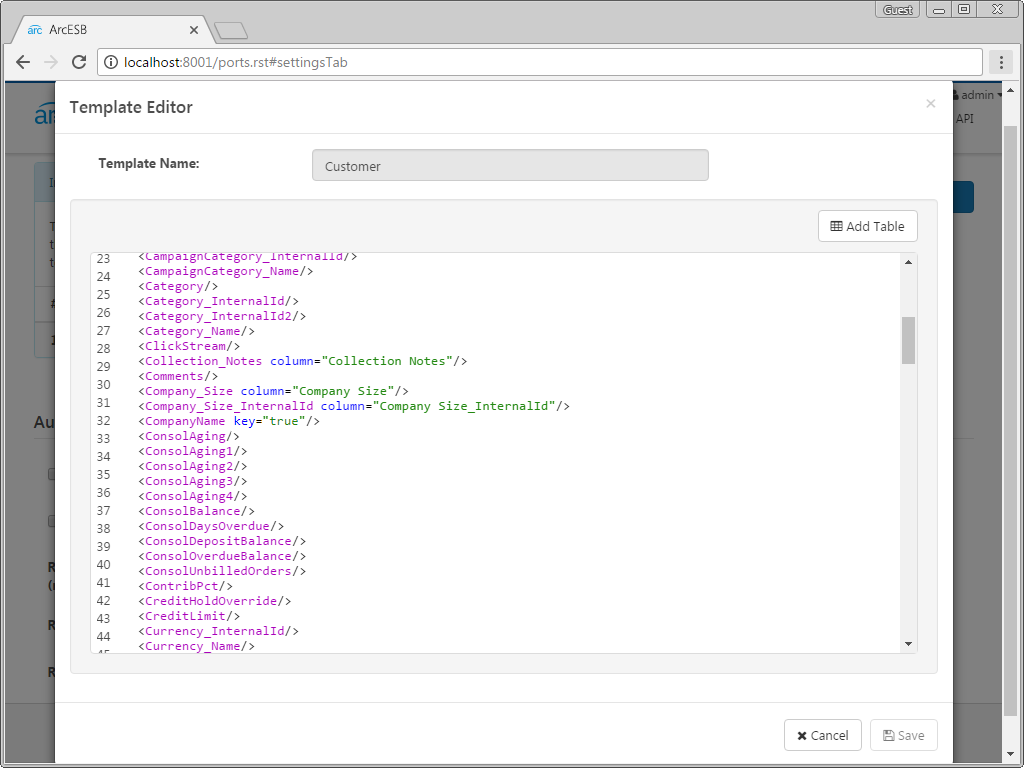
Arc first checks to see if there is any Customer record in NetSuite where the Company Name matches the Account Name from Salesforce, as these columns are used to uniquely identify a Customer and Account. If there is already such a record, the application updates the record with the new data. If there is no matching record, the application instead inserts the record into NetSuite.
Just like with the Salesforce Connector, this connector has already been configured to automatically process new files added to the Send folder. You can view these options in the Settings tab under the Automation Settings section.
More Information & Next Steps
As you can see, with Arc, you can automate your cloud data accounts, integrating Salesforce data directly into NetSuite. For more information on Arc, visit our home page. Download your free, 30-day trial and start controlling your business document exchange today!
Download & Install Sample
Already running Arc? This sample will setup Arc with the data and connector configurations referenced in this article:
