Email and Add New Contacts to Salesforce
Arc links your cloud-based CRM and email accounts together seamlessly, making it easy to automate manual tasks like taking a contact created from an HTML form, creating a lead in Salesforce, and sending an email. The following sample project demonstrates how different connectors in Arc are used to automatically process information from an HTML form, add a new Lead in Salesforce, and send a template-based email based on the contents of the form.
Drop in the Sample Project
To get started with the sample, download and install Arc (free 30-day trial). Then download the sample project and extract and copy the contents to the "data" folder in the installation location for Arc. For Windows installations, this is likely C:\Program Files\CData\Arc. Please consult the documentation for the Java build of Arc for Linux/Unix/Mac installations.
Receive New Leads from an HTML Form
The API Connector (LEAD_FORMS) receives new lead information from an HTML form and pushes the data to the Salesforce Connector (SF_LEADS) and EmailSend Connector (EMAIL_LEADS).
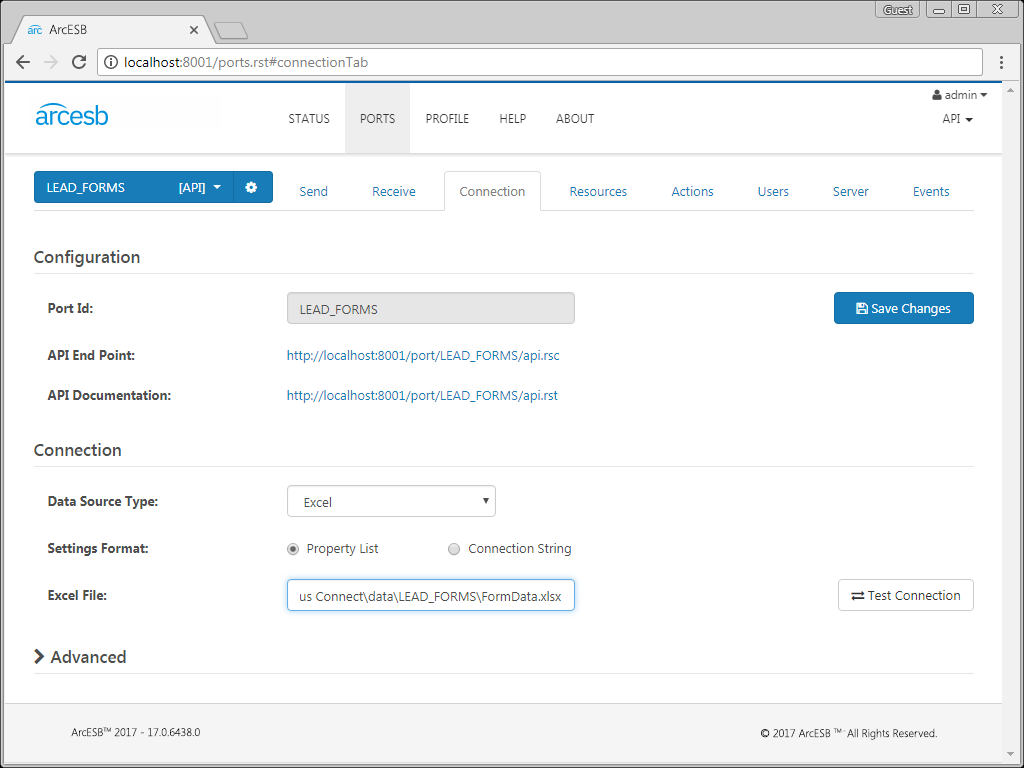
Connect to an Excel File
The API Connector comes preconfigured to connect to an Excel worksheet containing Lead data (using the same fields as Salesforce). This Excel file acts as a data store for the information entered into the HTML form and can easily be substituted with any on-premises or cloud-based database.
Add a Resource to the API Connector
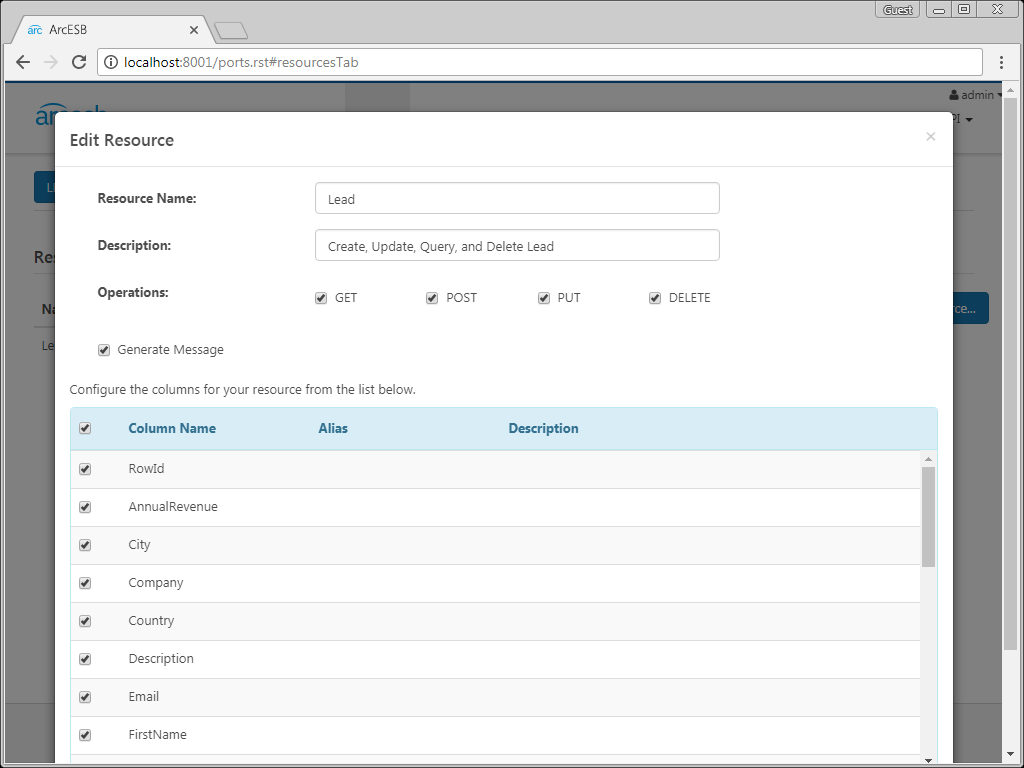
Navigate to the Resources tab for the API Connector to add a new connected resource to the API. The sample comes pre-configured with a resource for the Lead spreadsheet in the Excel worksheet, with permissions to create, read, update, and delete rows in the spreadsheet. The resource is also configured to generate a message whenever new data is received. The message created is an XML representation of the information entered on the HTML form.
Configure the API Connector to Send Messages
You can configure the API Connector to send any messages received to other connectors within Arc. Navigate to the Events tab of the API Connector and edit the After Receive event to copy the message to the Salesforce Connector and forward it to the EmailSend Connector. Your code will look similar to the following:
<api:set attr="Source"       value="[FilePath]" />
<api:set attr="Destination"  value="..\\..\\SF_LEADS\\Send\\[Filename]" />
<api:call op="fileCopy" />


<api:send port="EMAIL_LEADS"/>
Insert New Leads into Salesforce
The Salesforce Connector (SF_LEADS) inserts new entities into Salesforce.
Connect to Salesforce
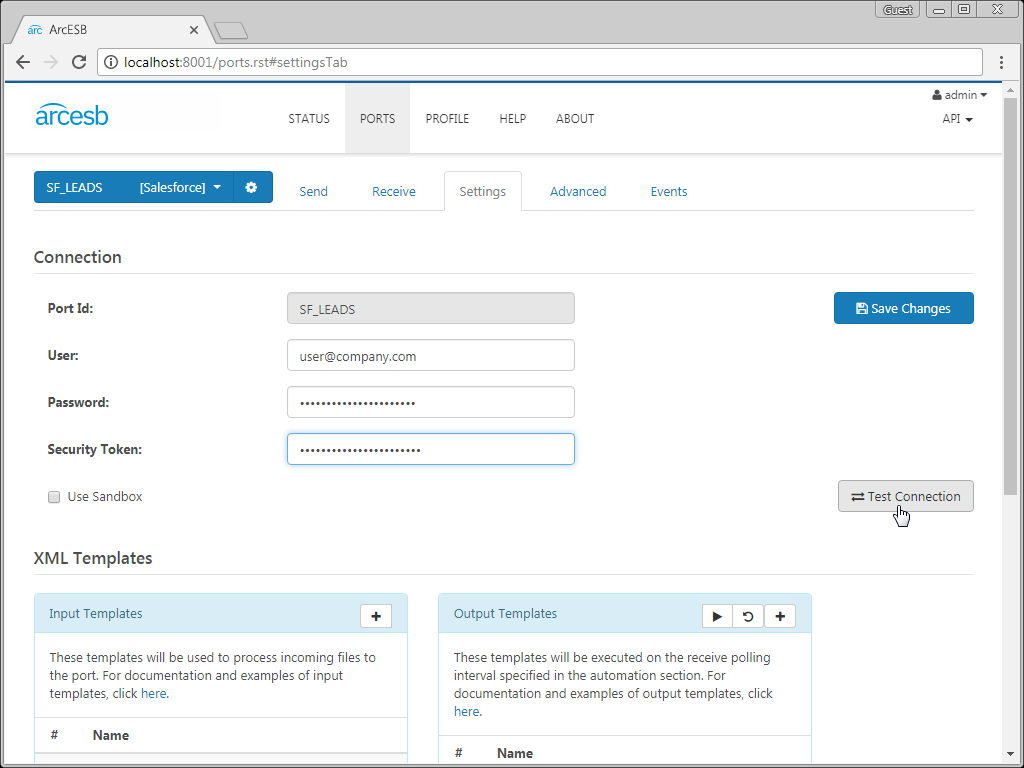
Configure the username, password, and security token fields in the Salesforce Connector Settings tab.
Configure the Input Template
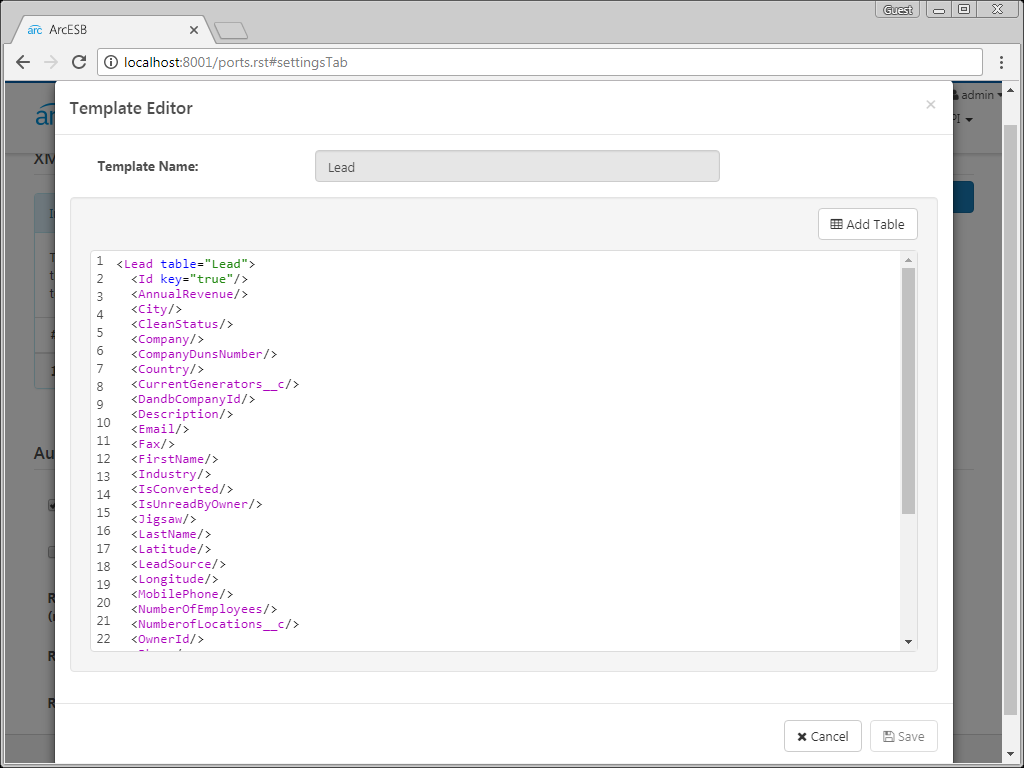
The Salesforce Connector is configured with a default input template for the Salesforce Lead table, used to add new leads to Salesforce.
The connector is pre-configured to automatically process files in the Send folder and send new leads to Salesforce on a scheduled interval, which is seen in the Settings tab under the Automation Settings section.
Send Emails Based on Lead Data
The EmailSend (EMAIL_LEADS) connector sends emails (with incoming messages sent as attachments or using templates based on the received data) via SMTP.
Connect to the Email Account
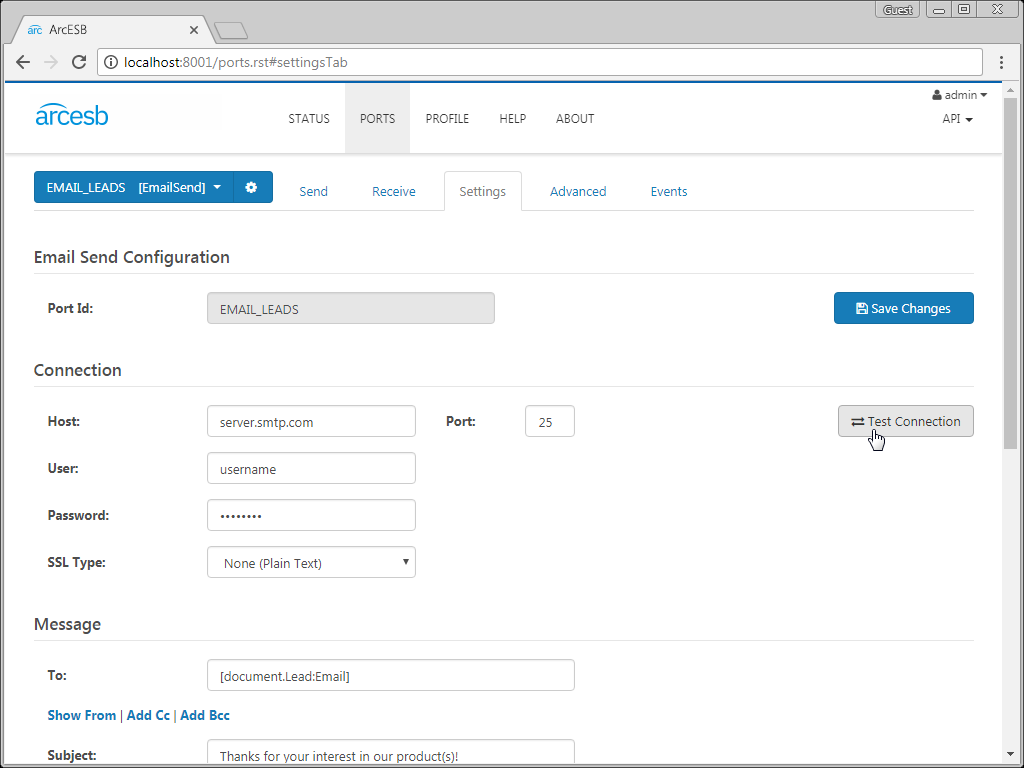
Enter the email server, connector, username, and password and click Test Connection.
Configure the Email
The EmailSend Connector can be used to send incoming messages as an attachment to an email or you can customize emails sent based on the data found in the files added to the Send folder. This sample creates a templated email based on information from an HTML form. Consider the following XML document (an abbreviated sample Salesforce Lead):
  ABC, Inc.
  john@abcinc.com
  John
  Blue Widget
You can access the elements in the XML using XPath notation. For example, to use the value of the Company element in the email template, write [document.Lead:Company]. For this sample, we use the following template:
Hi [document.Lead:FirstName],
We saw that you were dealing with the following issue:
[document.Lead:Description]
Would you like to set up a demo to learn more about how we can help you with your work at [document.Lead:Company]?
Arc User
The template dynamically reads the FirstName, Description, and Company fields and populate the email body. You can also reference the Email field for use in the To setting in the SMTP Message. The EmailSend Connector sends an email to each Lead in the Send folder (received from the API Connector).
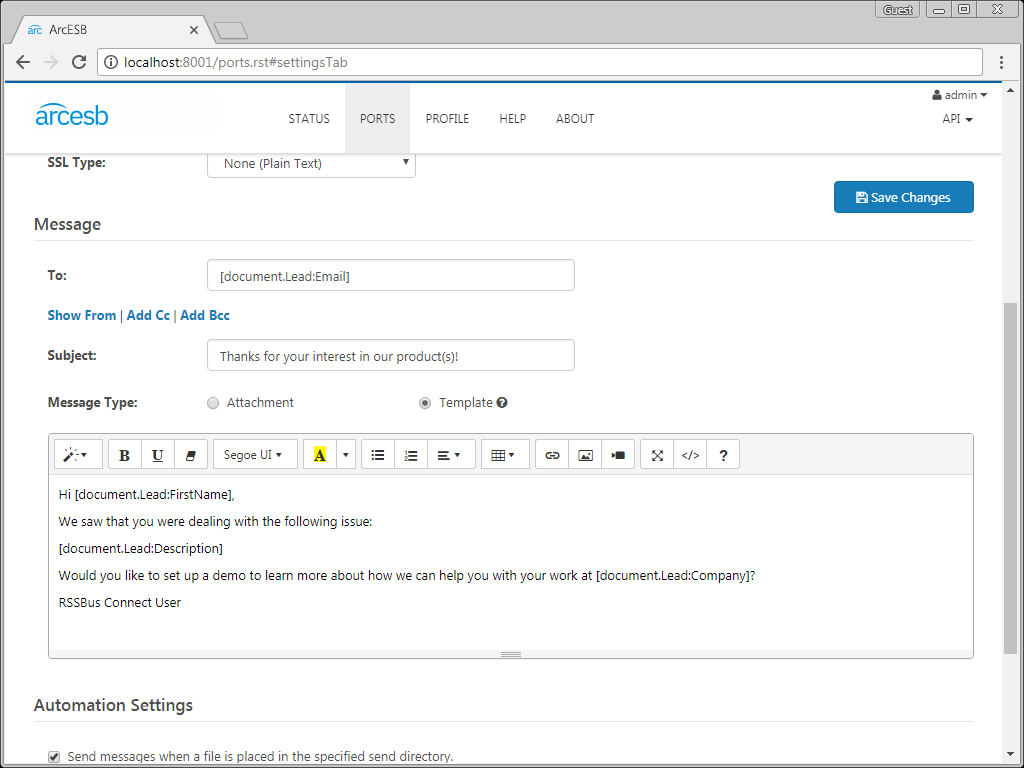
Just like with the Salesforce Connector, this connector is pre-configured to automatically process new files added to the Send folder. View these options in the Settings tab under the Automation Settings section. You can also send files manually: On the Send tab, select unsent files and click the Send button to process the file.
More Information & Next Steps
As you can see, with Arc, it is possible to automate business tasks, storing HTML form responses in a file-based store or database and using that information to add a lead to Salesforce and send a personalized email. For more information on Arc, visit our home page. Download your free, 30-day trial and start controlling your business document exchange today!
Download & Install Sample
Already running Arc? This sample will setup Arc with the data and connector configurations referenced in this article:
