Insert a Sales Order into NetSuite Based on HTML Form Data
End-to-end integration is an important component of any EDI implementation. The real power of EDI can only be realized when data flows seamlessly from application to partner application. This functionality allows automation of important business processes. There are times when a trading partner does not have knowledge of, or access to, EDI resources. In these cases, it makes sense to allow trading partners to use Web applications and forms to submit business documents like sales orders.
This article provides a walkthrough of processing data from a basic sales order HTML form and inserting a new sales order into NetSuite.
Setting up the Sample
To begin, download and install both the Arc application (free 30-day trial) and the NetSuite Connector (required). Then, download the sample project and extract and copy the contents to the "data" and "www" folder in the installation location for Arc. For Windows installations, this will likely be C:\Program Files\CData\Arc. Please consult the documentation for the Java build of Arc for Linux/Unix/Mac installations.
Connecting to NetSuite
With the sample installed, the next step is to configure your connection to NetSuite. In Arc, navigate to the NetSuite Connector (NETSUITE) and enter the Account Id, User, and Password on the Settings tab. Additionally, you will need to configure extra properties on the Advanced tab. See below:
- Include Child Tables (Authentication): Set this property to True.
- Use Sessions (Authentication): Set this property to False to prevent the driver from creating lingering NetSuite sessions.
- Aggregate Column Mode (Misc): Set this property to List in order to properly insert items in the Sales Order.
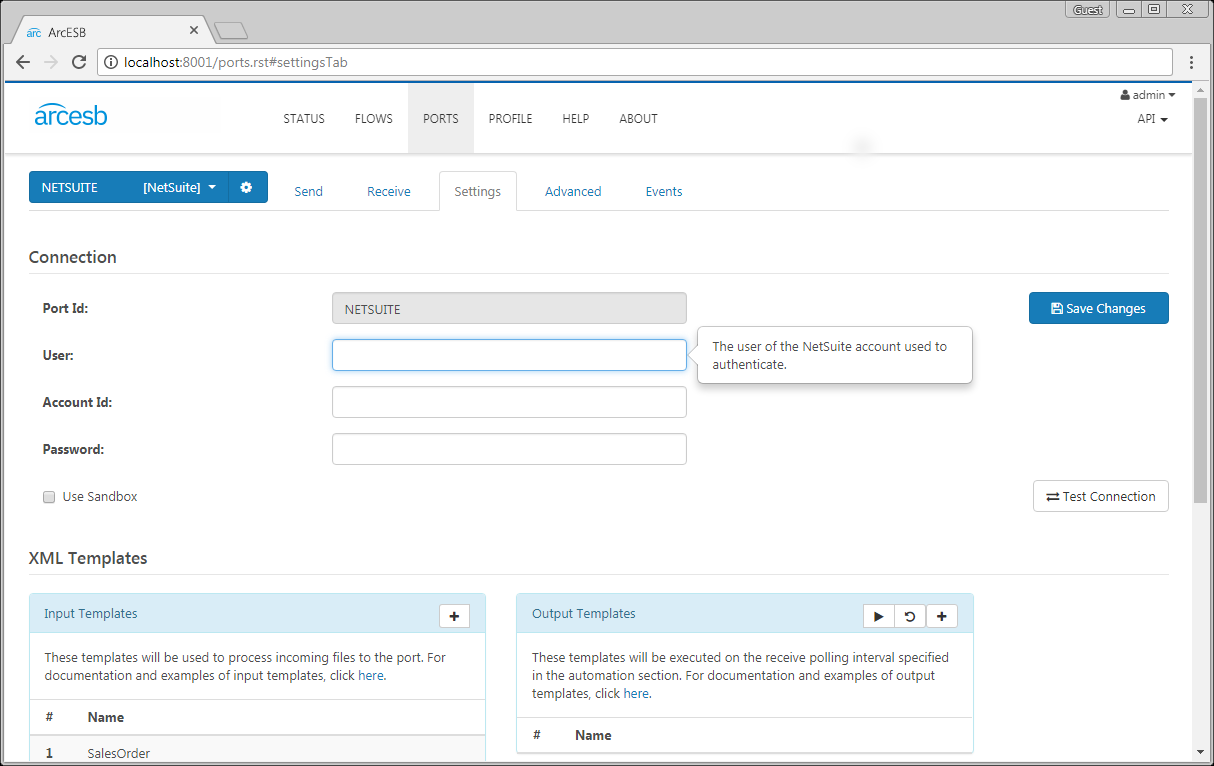
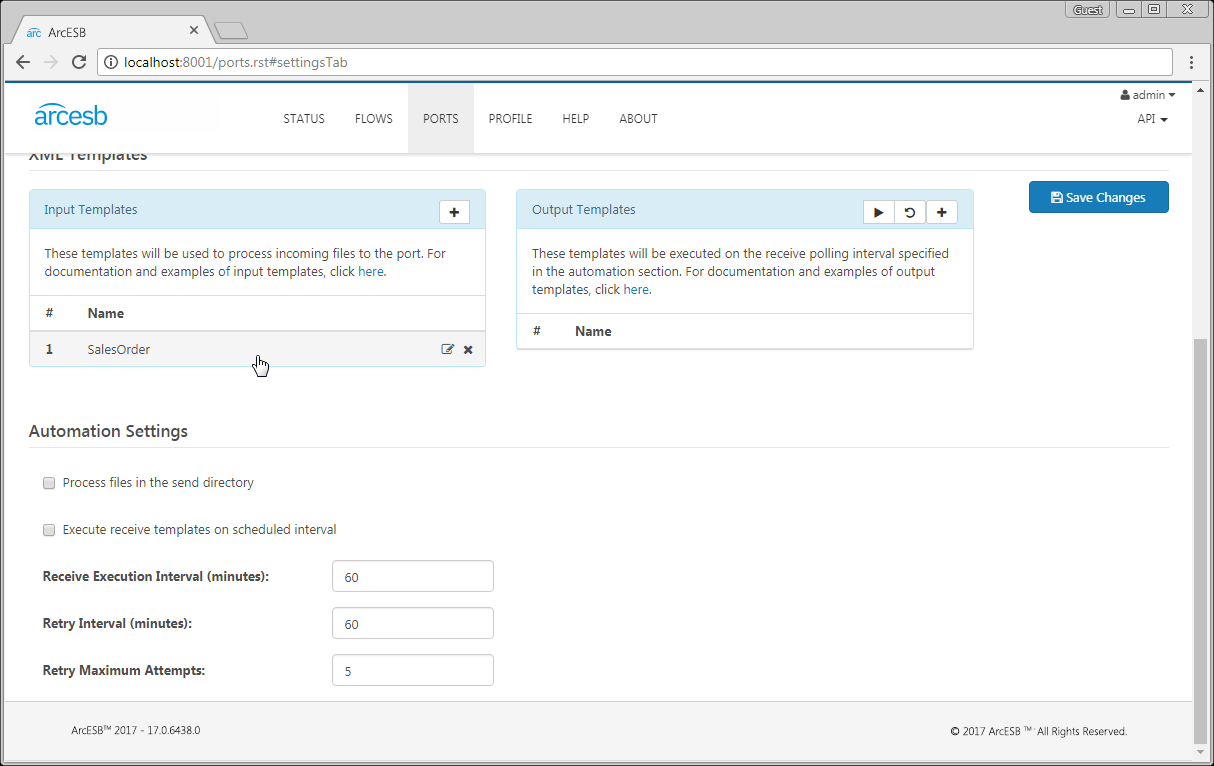
You can review the Input template on the NetSuite Connector to ensure that it is properly configured. Scroll down on the Settings tab for the NETSUITE Connector and look for the Input Templates. To review (and edit) the SalesOrder template, click on SalesOrder.
Configure the Mapping
You can also review the mapping and script by navigating to the HTML_TO_NS Connector (a Map Connector). You'll note that the Source and Destination files are pre-configured. For the source, we used a sample XML document that represents the XML created by our HTML form. For the destination file, we used the SalesOrder input template from the NETSUITE Connector. To map the values from the HTML form to a the SalesOrder template, we used RSB scripting. For more information on RSB scripting, refer to our online Help documentation. You can see the full script below:
<api:call op='xmlDOMSearch?xpath=SalesOrder'>
<SalesOrder>
<BillingAddress_City>[xpath('Billto_city')]</BillingAddress_City>
<BillingAddress_State>[xpath('Billto_state')]</BillingAddress_State>
<BillingAddress_Addressee>[xpath('Billto_name')]</BillingAddress_Addressee>
<BillingAddress_Addr1>[xpath('Billto_addr1')]</BillingAddress_Addr1>
<BillingAddress_Addr2>[xpath('Billto_addr2')]</BillingAddress_Addr2>
<BillingAddress_Zip>[xpath('Billto_zip')]</BillingAddress_Zip>
<DueDate>[xpath('Date')]</DueDate>
<Entity_InternalId>[xpath('CustomerId')]</Entity_InternalId>
<ShipAddress_City>[xpath('Shipto_city')]</ShipAddress_City>
<ShipAddress_State>[xpath('Shipto_state')]</ShipAddress_State>
<ShipAddress_Addressee>[xpath('Shipto_name')]</ShipAddress_Addressee>
<ShipAddress_Addr1>[xpath('Shipto_addr1')]</ShipAddress_Addr1>
<ShipAddress_Addr2>[xpath('Shipto_addr2')]</ShipAddress_Addr2>
<ShipAddress_Zip>[xpath('Shipto_zip')]</ShipAddress_Zip>
<ItemListAggregate>
&lt;SalesOrder_ItemList&gt;
<api:call op='xmlDOMSearch?xpath=SalesOrderLineItem'>
&lt;Row&gt;
&lt;ItemList_Item_InternalId&gt;[xpath('itemId')]&lt;/ItemList_Item_InternalId&gt;
&lt;ItemList_Line&gt;[_index]&lt;/ItemList_Line&gt;
&lt;ItemList_Description&gt;[xpath('itemDesc')]&lt;/ItemList_Description&gt;
&lt;ItemList_Quantity&gt;[xpath('itemQty')]&lt;/ItemList_Quantity&gt;
&lt;ItemList_Rate&gt;[xpath('itemUnit')]&lt;/ItemList_Rate&gt;
&lt;/Row&gt;
</api:call>
&lt;/SalesOrder_ItemList&gt;
</ItemListAggregate>
</SalesOrder>
</api:call>NOTE: Part of the scripting is XML-encoded twice (i.e.: &lt; for <). This is to ensure that the sales order line item aggregate is properly XML-encoded before it is sent to NetSuite.
Entering a Sales Order
If you have not done so already, place the salesOrder.rst file from the sample in the www folder at the installation directory for Arc.
Using the HTML Form
The included HTML form (salesOrder.rst) represents a very basic sales order. In it, you can enter information like billing and shipping addresses, line items, and a sales order and related purchase order number.
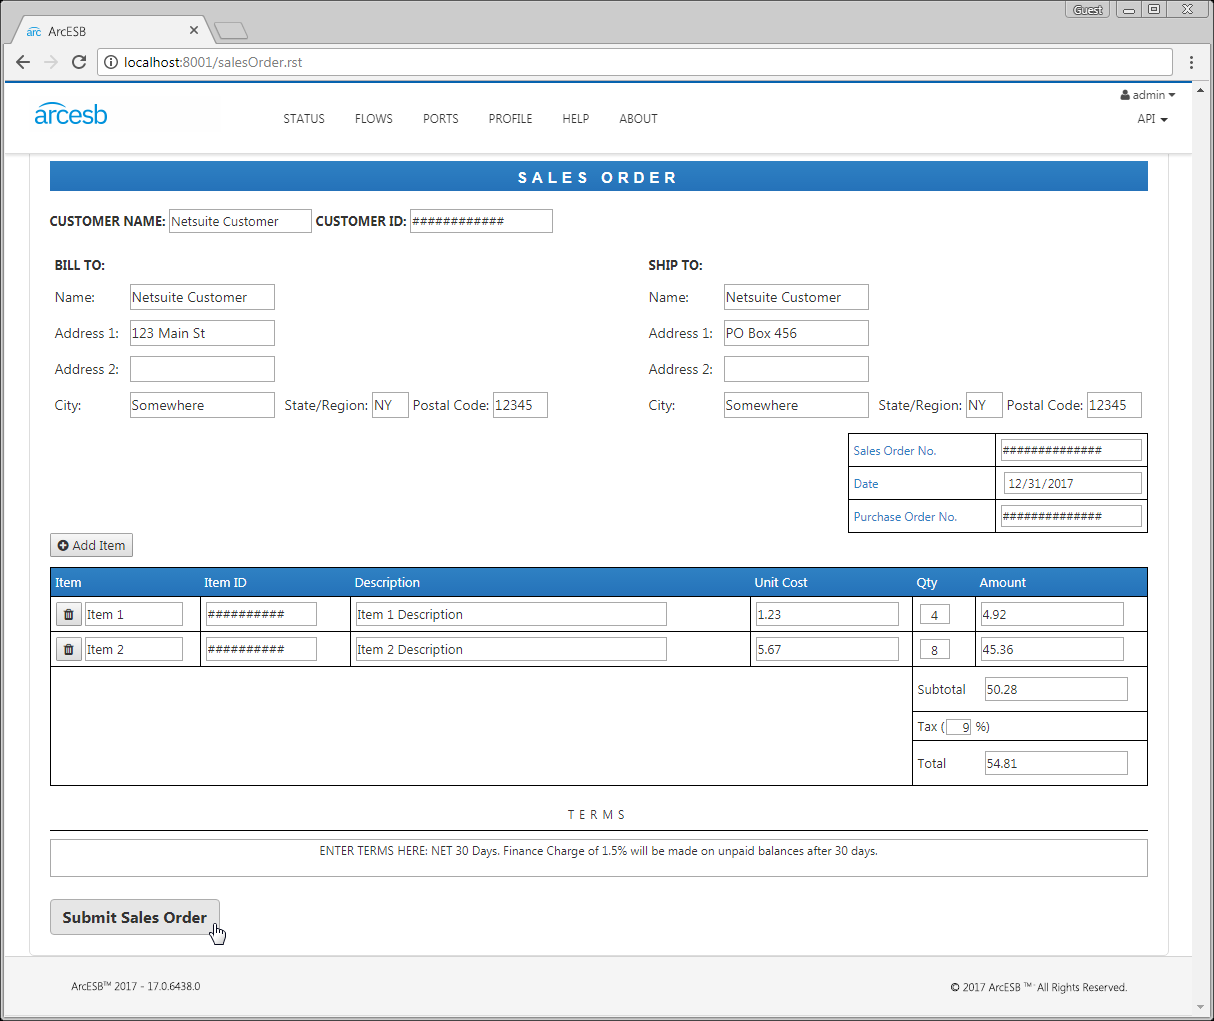
There are several fields that require specific information from NetSuite:
- CUSTOMER ID: This is the Internal Entity ID from NetSuite for the customer.
- ITEM ID: This is the Internal ID as displayed in NetSuite for the line items added to the sales order.
NOTE: While all of the fields in this sales order are manually entered, a real-world HTML form would use drop down options, auto-complete, or other validations for many of the fields in order to ensure that proper values are submitted in the form.
Once you've completely filled in the sales order, click to submit the form to Arc. This form uses RSB script to save the form data as an XML file to disk. For this article, we save the XML file directly to the Send folder for the HTML_TO_NS Map Connector, but you can configure where the file is saved in the code for the form. Below is a snippet of salesOrder.rst:
...

<api:script method="POST">
  <!--Build the top level XML data-->
  <api:set attr="tmp.data" value="<SalesOrder>\r\n"/>
  <api:enum attr="_request.form:*">
    <api:match pattern="form:item*" type="regex" value="[_attr]">
      <api:else>
        <api:set attr="tmp.data" value="[tmp.data]<[_attr|replace('form:','')|capitalize]>[_value]</[_attr|replace('form:','')|capitalize]>\r\n"/>
      </api:else>
    </api:match>
  </api:enum>
  <api:set attr="tmp.data" value="[tmp.data]"/>

  <!--Build the line item level XML data-->
  <api:enum attr="_request.form:itemName" expand="true">
    <api:set attr="tmp.data">[tmp.data]<SalesOrderLineItem>\r\n<itemName>[_request.form:itemName#[_index]]</itemName>\r\n<itemId>[_request.form:itemId#[_index]]</itemId>\r\n<itemDesc>[_request.form:itemDesc#[_index]]</itemDesc>\r\n<itemUnit>[_request.form:itemUnit#[_index]]</itemUnit>\r\n<itemQty>[_request.form:itemQty#[_index]]</itemQty>\r\n<itemAmt>[_request.form:itemAmt#[_index]]</itemAmt>\r\n</SalesOrderLineItem>\r\n</rsb:set>
  </api:enum>

  <!--Write the XML data to a file on disk-->
  <api:set attr="data" value="[tmp.data]\r\n</SalesOrder>"/>
  <api:set attr="file" value="..\data\HTML_TO_NS\Send\SO_[now|date(MMddyy_HHmmss)].xml"/>
  <api:call op="fileCreate"/>
</api:script>

...
Translate a Generic XML Sales Order into an XML Sales Order for NetSuite
The HTML_TO_NS Connector is a mapping connector designed to map the XML from the HTML form to the SalesOrder table from the NETSUITE Connector. As described above, the connector uses RSB script to map the values and build properly formatted XML. The HTML_TO_NS Connector is configured to automatically translate and send the document to the NETSUITE Connector. You can configure where to send the translated document using the SendToPort setting on the Settings tab for the HTML_TO_NS Connector.
Push a Sales Order to NetSuite and Retrieve an Invoice
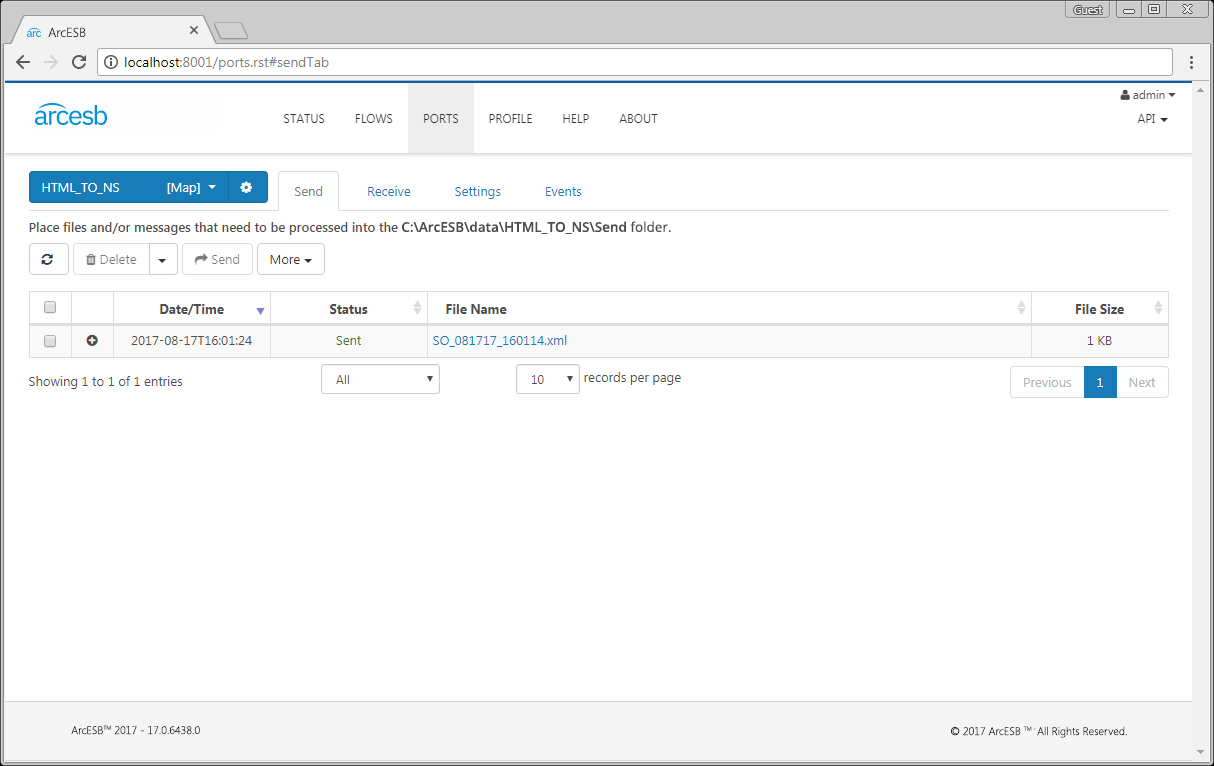
Now that you have a sales order in the Send folder for the NETSUITE Connector, you can inject the sales order into NetSuite. To do so, select the appropriate document in the Send folder for the NETSUITE Connector and click Send.
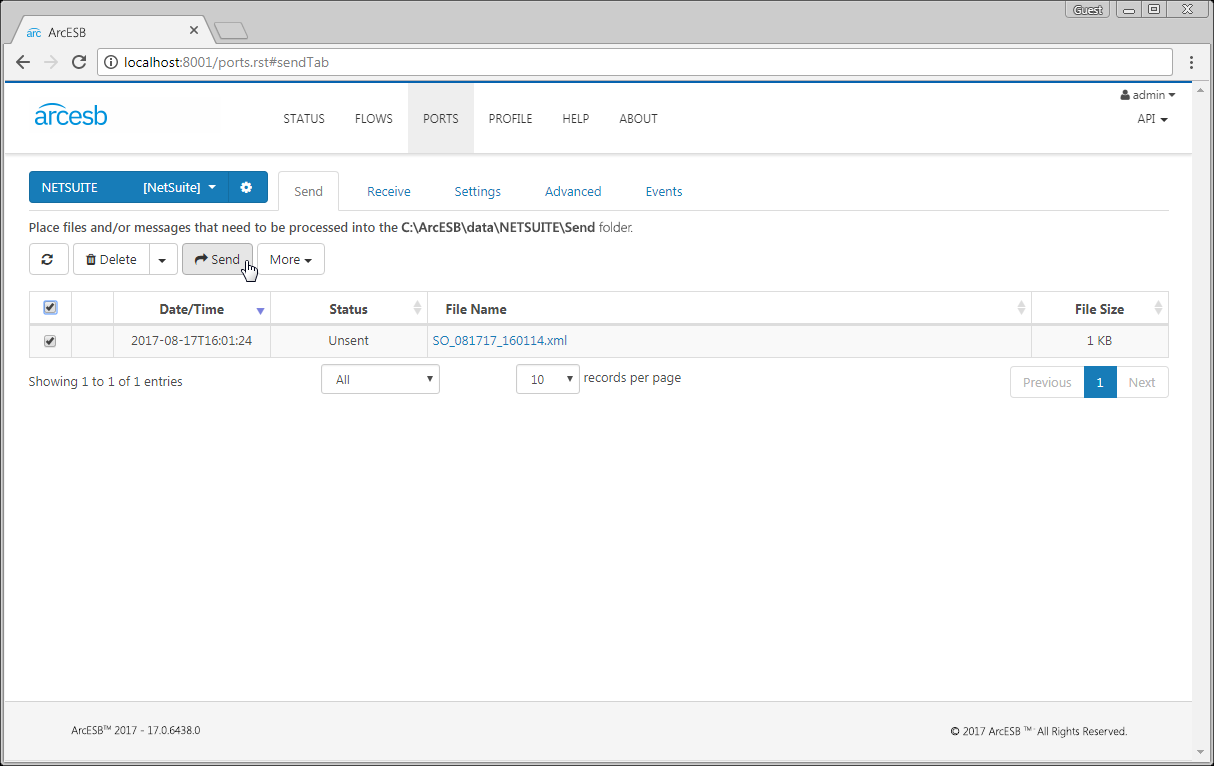
At this point, you have a new sales order in NetSuite based on the data entered in the HTML form; this new sales order is ready to be processed.
More Information & Next Steps
As you can see, Arc makes it possible to automate your business document exchange and integrate directly with NetSuite. For more information on Arc, visit our home page. Download your free, 30-day trial of Arc and start controlling your business document exchange today!
Download & Install Sample
Already running Arc? This sample will setup Arc with the data and connector configurations referenced in this article:
